Tuesday, October 9, 2012

Chicken Corn Soup

I promise, if you make this, you will LOVE it! 

1 whole chicken
4-5 stems of celery, diced
5-6 carrots, diced
1 whole medium onion, diced
4-5 cloves of garlic, minced
4 cups corn (can be frozen or fresh, don't use canned)
3 medium potatoes, diced
3 eggs
salt and pepper to taste
1-2 tbsp olive or grape seed oil

Put a rinsed whole chicken in a stock pot, cover with water, boil until falling apart. Remove from heat and let cool. If you do this the night before and put the whole pot in the freezer you get a nice layer of chicken fat on the top of the stock. I use this in place of oil in the next few steps. If you don't have time, no worries, use the oil. 

In another large stock pot add the 1-2 tbsp of oil to the pot and put on a medium high heat. Add in the garlic, onion, celery, and carrots. Saute until soft. It's ok if the bottom of the pot starts to caramelize a little. That means its' building good flavor. Spread everything to the sides and add in the potatoes to the center. You may have to add a touch more oil to combat the startchy-ness. Salt and pepper liberally to build the flavors. I use somewhere around 1 tbsp of each. 

When you get everything soft, add in the stock from the whole chicken pot. Pull the chicken out and remove bones. Cut or pull into small pieces. Add the chicken to the pot.

Add in the corn and the three raw eggs. After about 10 minutes, scoop the eggs out and let them cool a touch in a bowl. Peel and dice then add back to soup. 

Let everything get happy for another 10 minutes or so and serve. This is one of my favorite recipes from being a kid during harvest season. Plus it's how my husband and I spent our first date! He was sick, I made him this. 5 years later we're married and expecting our first baby! :-)

Monday, October 1, 2012

Cool Weather Grub!

Fall is DEFINITELY in the air here in Juneau. It was 36 degrees this morning when I took the hubby to work... You know what that means? I can FINALLY cook soups & stews for dinner! Yay! I am trying to convert my husband over to my way of thinking when it comes to the awesomeness that is a pot of delicious soup... He maintains that "soup is not dinner" but I can usually get him to eat stew or chili with few complaints.

Earlier today, I had a craving for lentil soup. To satisfy my craving, I went to the store to get ingredients while I had a bit of time between when I got off work and when Aaron got off work. While wandering the store, I saw a bag of baby yukon gold potatoes... and changed my mind (I just couldn't convince myself that I could successfully add potatoes to lentil soup). So I could use the potatoes that I immediately craved upon sight, and so I could get Aaron to eat it, I decided to make chicken stew.

Another good thing about soup weather? You don't really need a recipe... Just a good understanding of what tastes good together...

Heat some olive oil in a dutch oven (love my Lodge Enameled Cast Iron one). Cut one chicken breast into cubes, season with salt & pepper, and brown in the oil. When browned, remove the chicken and set aside. Add a bit more oil and then add one red onion, two stalks of celery, and two carrots (all chopped) and cook until the veggies start to soften. Add the baby yukon gold potatoes (roughly quartered, but it depends on the size of the potatoes... just make sure they are about the same size, but not too small, or they'll be mushy) and the chicken. Season with more salt, pepper, and about 1 tsp. of an herb blend (I used herbs de provence, but you can use whatever you like). Then, add 1 quart of chicken broth and let it simmer with the lid on over medium heat. Cook until the potatoes are soft. Mix in some cornstarch (mix it with liquid first, or you'll be sorry.... I used some white wine I had lying around). Thicken it to the desired consistency (Aaron likes it thick, so I used about 2-3 tbsp of cornstarch, but 1-2 would probably be fine). Taste for any additional seasoning it may need. Fresh herbs might be nice (but I didn't have any luck with my kitchen herb garden, so I didn't).

Feel free to add anything else you want to it... soup isn't rocket science and it isn't exactly precise... I RARELY measure anything for my soups. And it is pretty rare for me to have a crappy batch of soup.

I didn't get any pictures of the awesomeness, so you'll just have to take my word that it looked and tasted great. Definitely hit the spot for some comfort food. An added bonus? When I plugged the ingredients in to calculate the calorie count of the dish, it works out to a little over 200 calories per serving. We each had 1 bowl and I separated the rest of the pot into two plastic containers. I figure it is about 6 servings a pot, at these quantities. Sometimes I go a little overboard with soup production, but I successfully reigned it in for this one :)


Monday, September 24, 2012

Do you love free stuff? Me too!

Obviously I love trying new things. Food mostly but other stuff too! 

This site is pretty awesome. They fully vet every ad to make sure it's real and it's quick and easy. No signing up to 15,000 things and giving out your blood type and first born. Just a site, with links, to cool stuff! 

So check it out ok? Say I sent you! 

http://www.myfreeproductsamples.com/

I do daily and LOVE my mailbox now!! 

Wednesday, September 19, 2012

Shameless Plug for Food


 I have coupons from BzzAgent Around somewhere I can share!

When you're done stinking up the place....

We give you guys so many delicious recipes on here. Unfortuantly not all leave your house smelling quite so tasty the next day.

Perfect Solution? New Glade Expressions!


Sunday, August 12, 2012

Grandma's Peanut Butter Fudge (Fo' Real, yo!)

So, today I had a major craving for peanut butter fudge... It could be because I'm homesick, or overworked, or missing my grandma... Or it could just be that I've had a craving for it ever since I sent Jessie the text with the "directions" in it... Either way, I needed a break from my school work today and decided to whip some up...

BTW, Jessie, for someone who doesn't like to do excess dishes, you sure made it complicated! Made properly, it is a one pot-one plate experience, with a few additional tools necessary for making the candy.

Directions will be given by picture, so pay attention :) No measurements were taken. This very much depends on proportions and current weather (humidity), etc...

Add sugar and cocoa powder to the pot and whisk to combine.

The sugar-cocoa mixture should look like this (I had to add more sugar to get to this stage)

Add just enough milk to moisten the sugar. I started with about a 1/4 c. and ended up using about a 1/3 c. (just eye-balling it)

Turn the heat to med-low and switch to a wooden spoon... As Jessie said - "Just keep stirring..."

Just starting to bubble a bit...

Getting nice and bubbly...

Really cooking now!
 It was at this stage that I tested the "done-ness" of the candy. I don't have a candy thermometer, so I tested it with cold water. (I didn't get a picture of this because it moves pretty fast). Pour some really cold water in a glass dish (mom used a small drinking glass, I use glass prep bowls). Drizzle some of the candy into the cold water. Stick your fingers in and manipulate the candy ball. It should form a nice ball, but still be pliable (soft-ball stage). If you cook it past this point, the fudge will be too tough to eat... Mine was in the perfect soft-ball stage, so I removed the pot from the heat. This is when you add the vanilla (it maximizes the vanilla flavor).

I also added a couple of heaping tablespoons of peanut butter to the pot and beat it with the wooden spoon to thoroughly incorporate the peanut butter (you can use smooth or chunky, your choice)... WARNING: It sets up REALLY fast so you better be prepared to dump it onto the greased plate as soon as it comes together... otherwise it will start cooling in the pot and it will take forever to get it out again...

Aaron took a picture while I was stirring... I know, not a very good one...

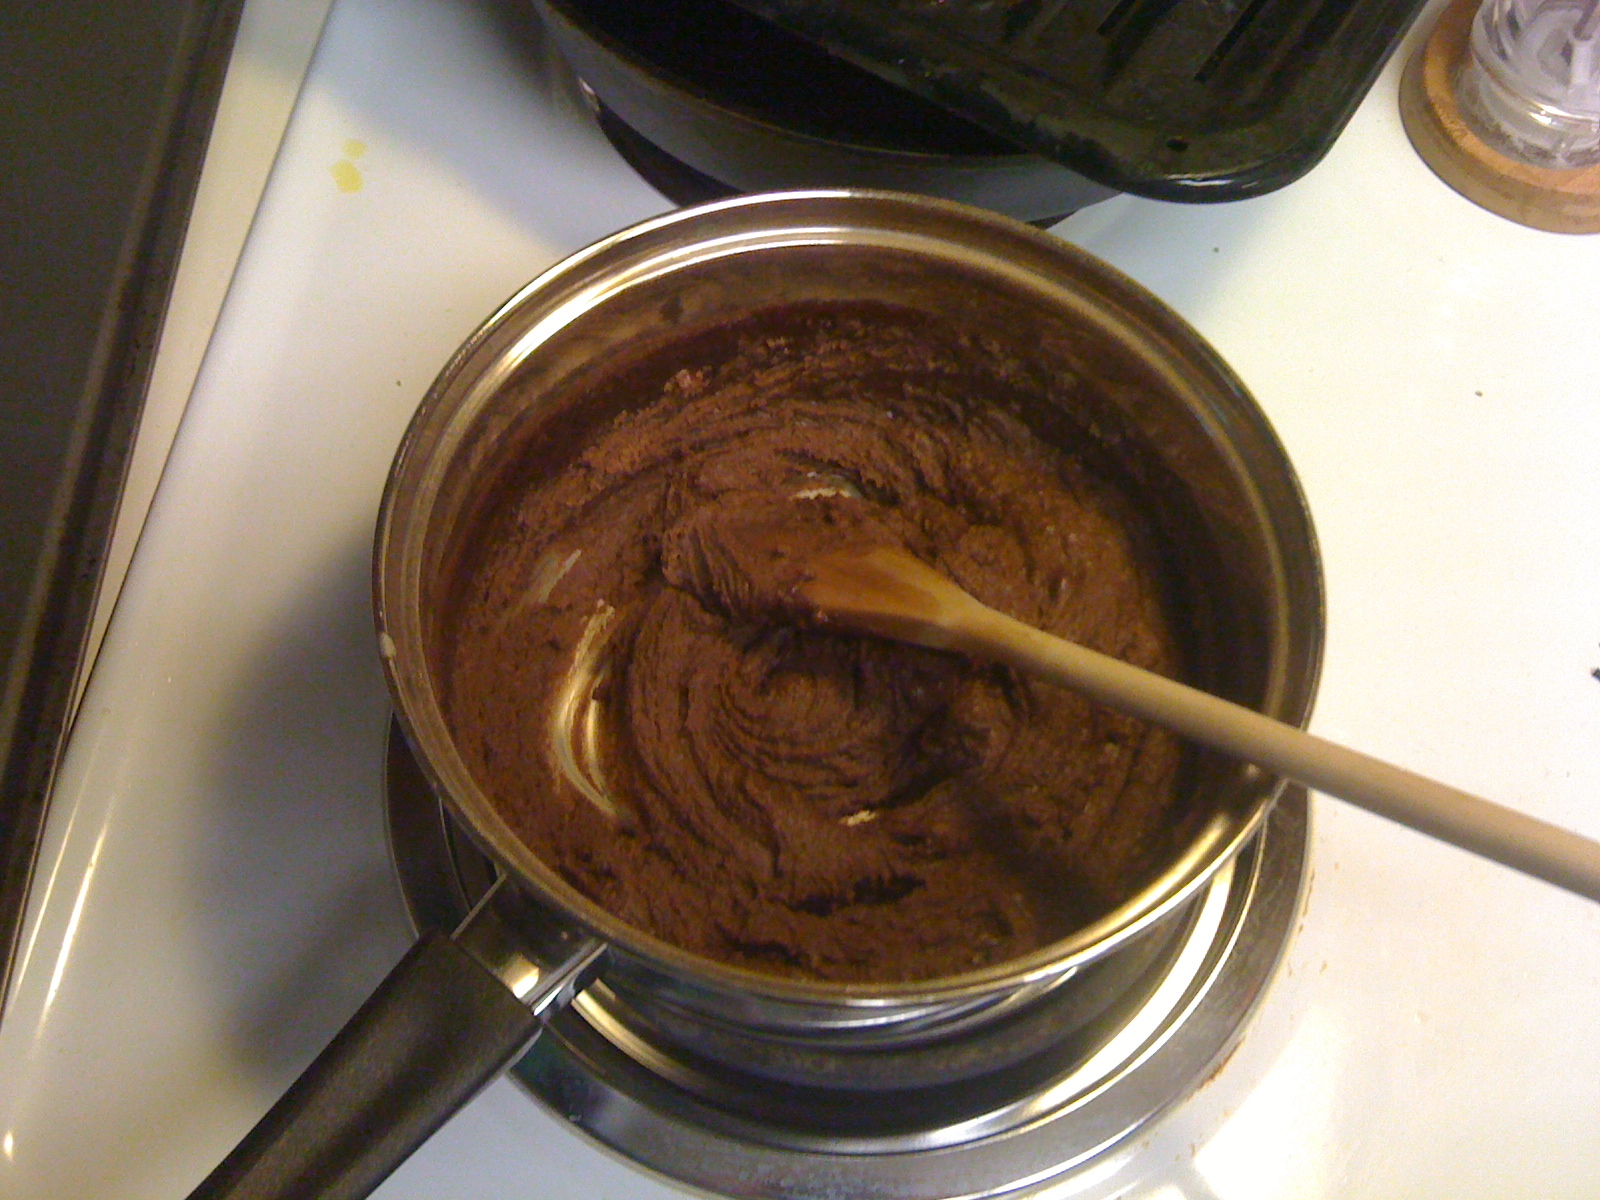
After it's been mixed... It should be the consistency of thick frosting...

Glob it onto a (greased) plate and press flat... Cut into squares while still warm to prevent breaking...
Let it cool and eat your fill!

My mom used to make this anytime one of us kids got sick. We'd take the (nasty) medicine she'd give us and then follow it up with a piece of peanut butter fudge... It made getting sick not so bad!

My grandmother is no longer alive, but anytime I visit my Auntie, she makes me peanut butter fudge. I'm usually not a great candy maker and the last few efforts of making peanut butter fudge were disastrous! My sugar constantly crystallized... it made for very gritty peanut butter fudge. But, it must be sufficiently humid out today because I had no problems with this batch... Yummy!

Friday, August 10, 2012

Grandma Charlotte's Fudge

Chocolate. Is there any word in the English Language (apart from beer, which incidentally goes fantastic with Chocolate) that cultivates such heartfelt love? I'm happily married to a wonderful guy I love, but I gotta tell you chocolate stirs a passionate feeling so deep it might just trump my nuptials. 

That being said, yesterday I was craving chocolate and was sorely lacking in supply. Of course my first contact was to Jen to help me out. She pulled through. Sort of... See her solution was to whip up some Grandma Charlotte (her's, not mine) Fudge. Now I'm not exactly a fudge making pro. Just to make it a big more interesting, she sends me the directions via a series of Text Messages! 

Here's what I got: 


Helpful right? 

So here's the translated ingredient list: 

1 1/4 cup sugar
2 3/4 tbsp cocoa
1 tsp vanilla extract (this was my addition because I LOVE it)
1/4 plus 1 tbsp milk 
1 cup peanut butter

The Cast
These ingredients probably need tweeked a little. The taste is amazing but it's a little crumbly to work with and Jeff likes gooey fudge. 
Here goes nothin'!

My favorite cook wear is All Clad. I love it. Can't explain it, just do. 

Sift the sugar and cocoa together into about a 6 inch pot. You can use smaller if you like but the more room it has to spread out (without being too thin) the better it will kind of carmelize. Add milk and stir well.  


Cold, Wet, and Sweet - There's got to be a joke there.
Add vanilla. 
I call this "Honeymoon Vanilla".
We bought it at a market somewhere in Mexico.
 Turn the heat on to a medium low. Let the mixture kind of warm up and start to get glossy. Keep on stirring. Think Nemo... 


Concoction Starting to Glaze
At this point, risk of burning is pretty low. So while it heats I recommend finding a dish and lining it with plastic wrap. I know, I know. Deviation from Grandma. But I hate dishes.  Grandma would still be proud. 

Wrap it Up.... 
 Here is about half way done. You can see some of the grainy-ness of the sugar on the spatula. Keep on stirring... 


At about 3/4 of the way through you'll be able to swipe the pan and the mix will hold consistency for a few seconds. 


Swoosh!
 Tilt the pot. If it still looks grainy and lump, keep on stirring. I played with my heat a bit here. Up a little to get the sugar to melt more. Not too high though, it's easy to burn. Burning sugar tastes like dirt... Well, sort of. First it tastes like caramel, then like dirt really quickly. Someone should talk to sugar... 

Grainy like a 90's camera phone.  
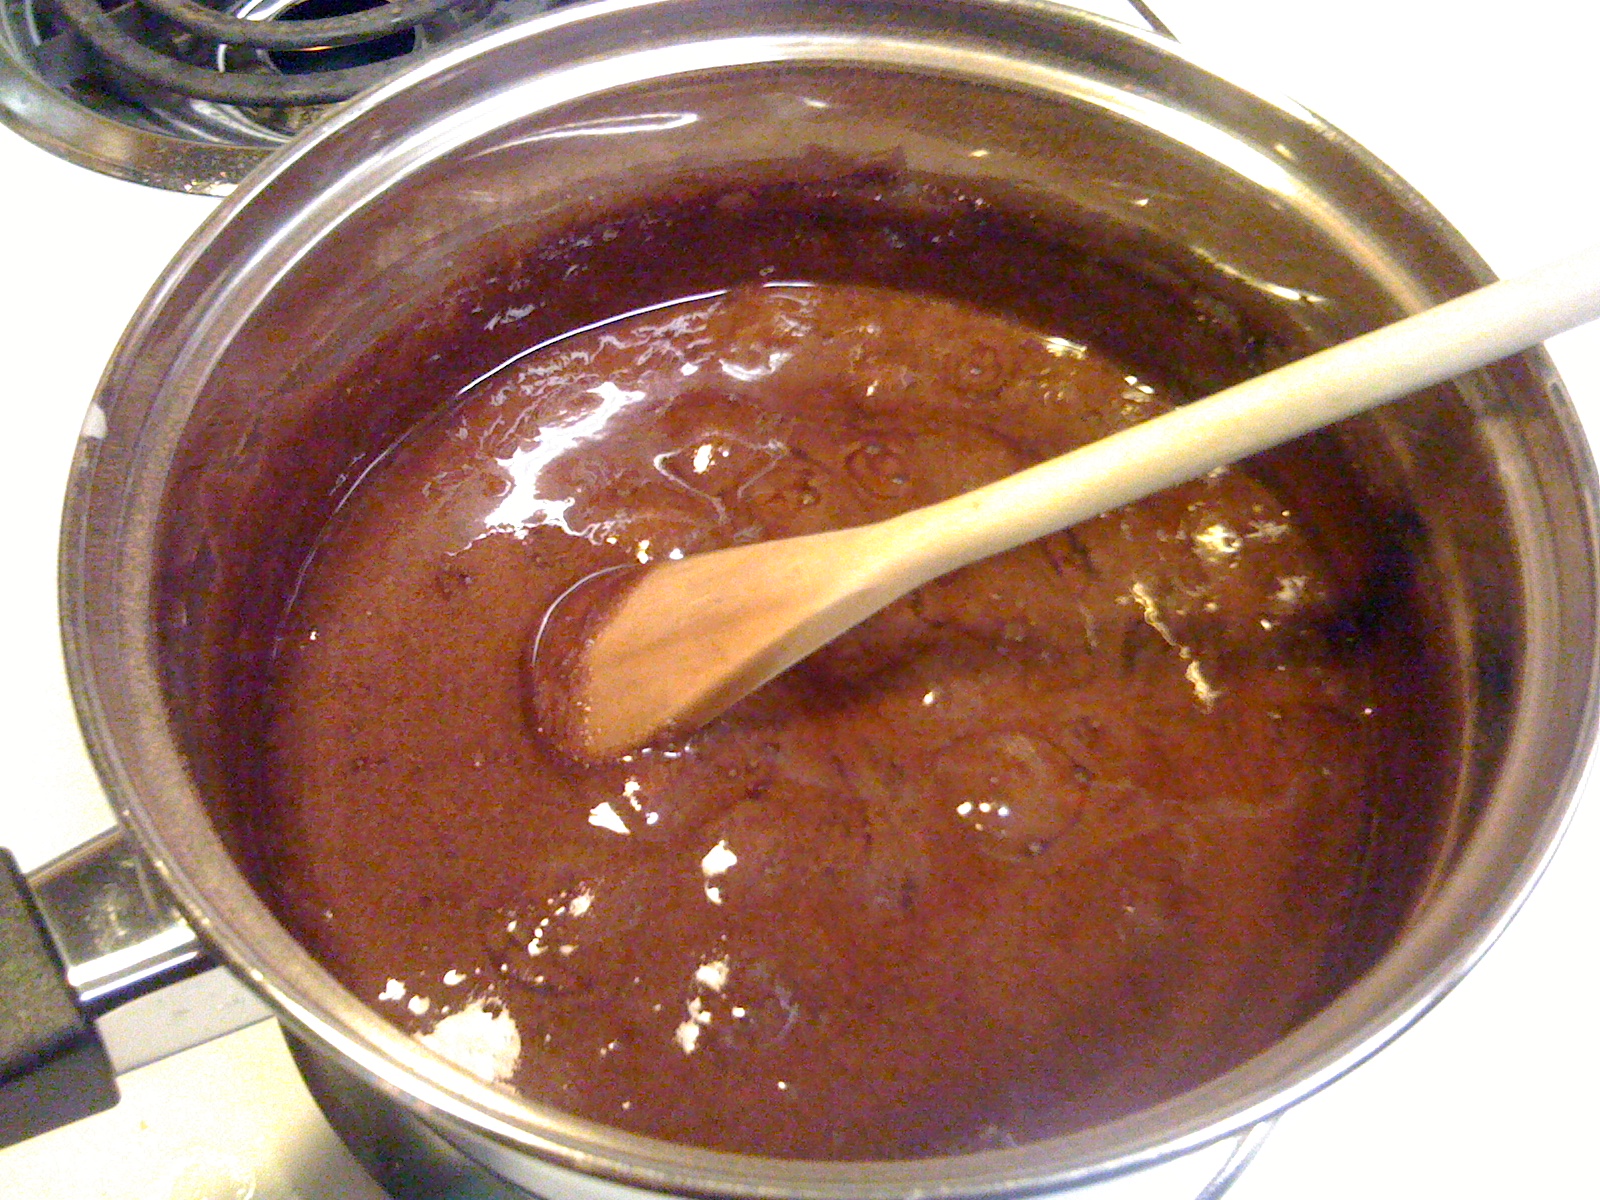
When it really starts to come together (this is about 8 minutes in) you'll get a little separation of cocoa and milk fat from the carmely sugary sauce. Keep stirring. I stopped for a second to show this but ideally you keep it all combined. 


I see swirls. 
 You're shooting for around 200 - 225* F. Keeping it there on a medium heat melts the sugar crystals without burning anything. I found this awesome candy thermometer at an estate sale for $1. If you don't have one, no worries. 


Between 200 and 225 it gets this nice black glossy look. You can read your fortune, or maybe just keep stirring and make fudge. Your call. 

Shiny! Squirrel! 
I turned off the heat and removed the pot from the burner just to cool a touch. It was really just because I needed 2 hands to prep my KitchenAid Mixer and Mom didn't have quite enough radiation to produce that third arm. 

Glass bowl, whisk attachment. 
I would show here putting in the peanut butter but again, no third arm. So here are a series of shots of the mixer combining everything. Put in the peanut butter first, start the mixer, than pour in the sugar/cocoa mix. 

PB in the center, whipping out. 


Whip it, whip it good now. 

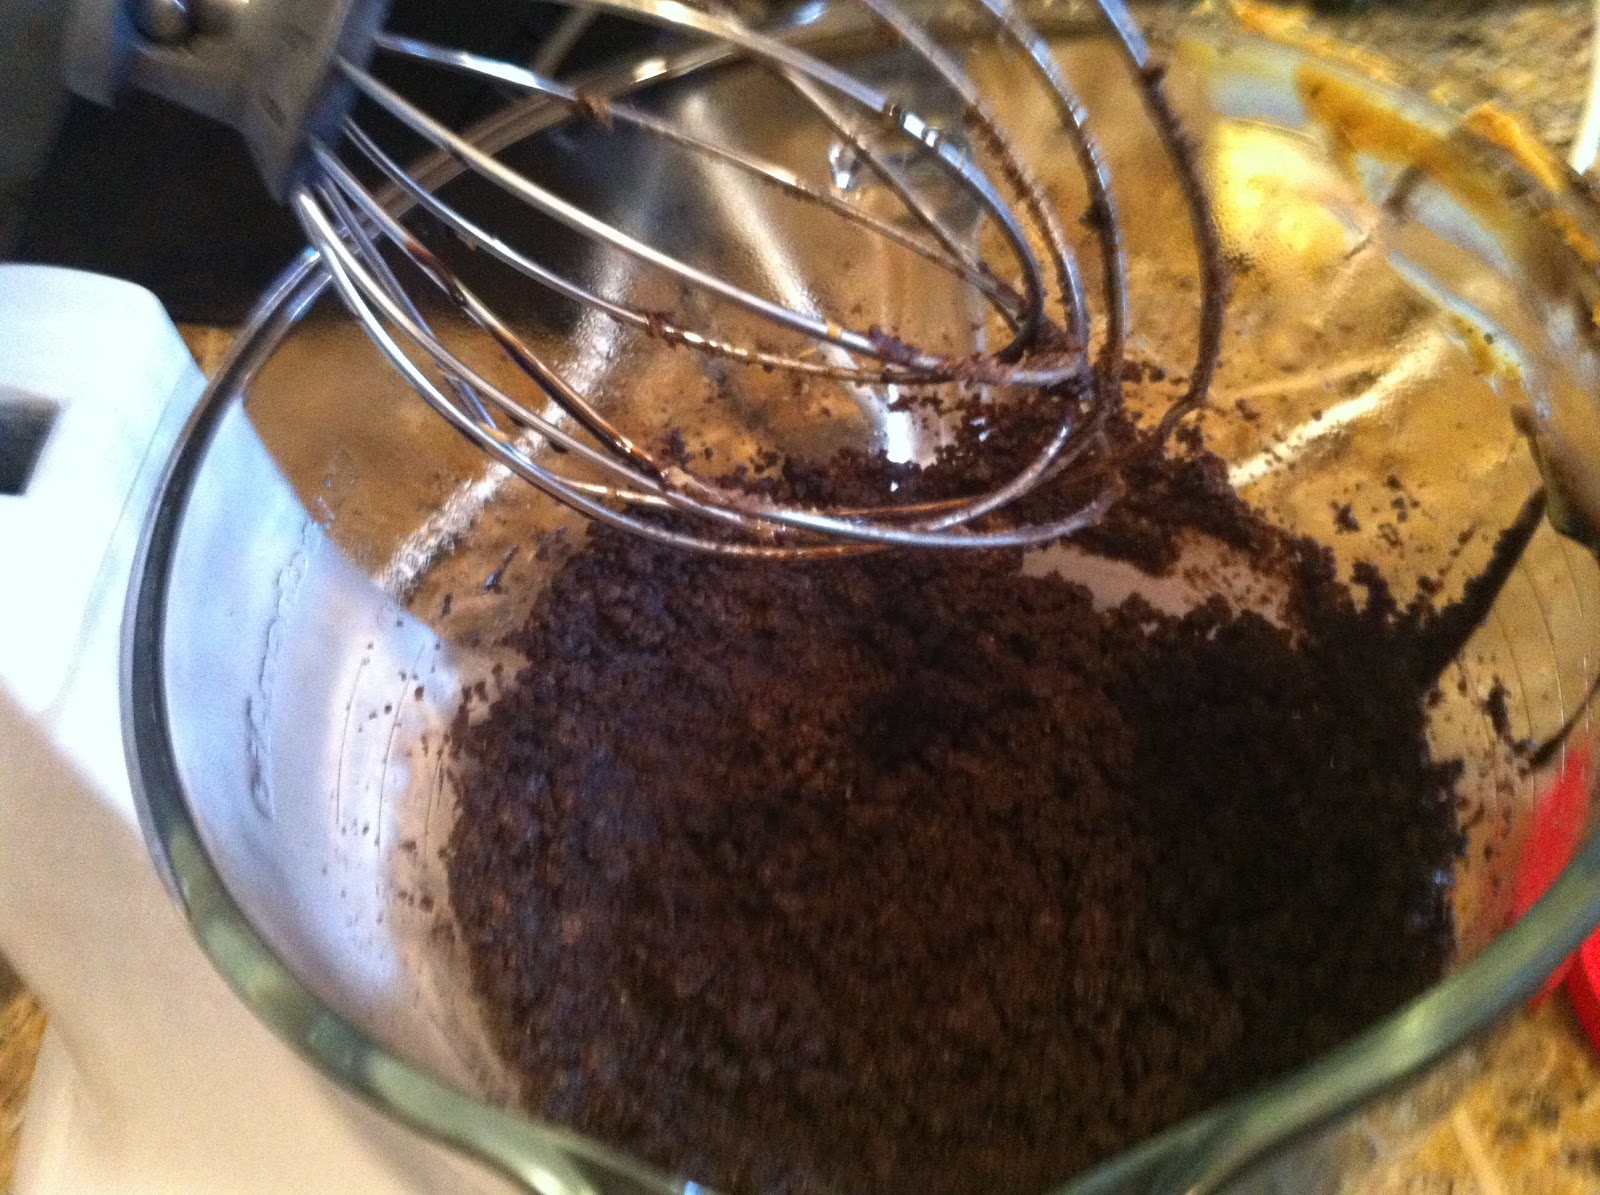
It fully incorporates and looks like Oreo Crumbs. At least mine did.

Me Want Cookie!

 Dump contents of mixer bowl into the lined dish. 


Fold over plastic wrap. 


I used a smaller bread pan to smash everything down tight and into the lined pan. You could use fingers if you want. This was quick and easy. 


Flipped the now-fudge out onto the marble counters, keep the plastic wrap on. 

Practice Safe Rolling. Prevent dirty counters. 
 Using a rolling pin, I smashed it out a little thinner. 


Purely Illustration. 


About as thick as a pen. 
 Get ready for my favorite part! I brewed up a cup of Brooklyn coffee and enjoy! 


Three of my favorite things! 

So here's to you Grandma Charlotte. And a big thank you to Jen for making my morning a little better!