Showing posts with label Chocolate. Show all posts

Thursday, March 21, 2013

Liquor is Quicker but Tandy is Dandy!

I had a craving. It was one of those childhood cravings you can't get away from til you have it. Peanut Butter Tandy Cake. Now all you folks not familiar with TastyKake may have never heard of this spongy cakey concoction. Well I'm here to tell you all about it and trust me when I say you will never forget it! I will say that my version is slightly different than the packaged one so if you were a fan of the Tandy Cake from day one you may be in for a bit of a change of pace. But trust me on this, it's damn good. 


Ingredients

4 eggs

2 cups sugar
1 tsp (I dump in more cause I like it) vanilla extract
2 cups AP flour
1 tsp baking powder
1 cup milk
2 tbsp butter
Peanut Butter (this is your judgement call, use as much or as little as you like)
1 German chocolate bar (substitution of a Hershey bar or similar item is acceptable)
about 1/4-1/2 cup Nutella
Chocolate Chips for decoration

Mix together everything except Peanut Butter, Chocolate, and Nutella

I bake it in two pans for the sake of having extra crusty parts. I use a 9x9 metal baking dish. Make sure your oven is preheated to 345F or so. My oven runs hot so I knock it down just a bit to prevent it from scorching. Lightly grease and dust the pans with flour, pour the batter in evenly. Bake for around 25-30 min or until the top turns kind of a light golden. 

As soon as it comes out, scoop your peanut butter on top about a tablespoon at a time evenly over the top. Spread it around a little at a time. It melts from the heat of the cake into a nice even layer. 

Now let it cool for about 15-20 min. 

In a double boiler or microwave safe bowl mix together the broken bar of German Chocolate and the Nutella. Melt until smooth and then spread evenly over the top of the peanut butter. 

Add a grid of chocolate chips over the whole cake about an inch apart so you have cutting guides later. It makes them super cute to serve. 

Let everything cool for at least an hour. (You can totally speed it up in the fridge or freezer though)

Spray a knife with cooking spray and cut into inch-ish squares. 

Enjoy with your favorite drink whether coffee, milk, or tea. :)


Sunday, August 12, 2012

Grandma's Peanut Butter Fudge (Fo' Real, yo!)

So, today I had a major craving for peanut butter fudge... It could be because I'm homesick, or overworked, or missing my grandma... Or it could just be that I've had a craving for it ever since I sent Jessie the text with the "directions" in it... Either way, I needed a break from my school work today and decided to whip some up...

BTW, Jessie, for someone who doesn't like to do excess dishes, you sure made it complicated! Made properly, it is a one pot-one plate experience, with a few additional tools necessary for making the candy.

Directions will be given by picture, so pay attention :) No measurements were taken. This very much depends on proportions and current weather (humidity), etc...

Add sugar and cocoa powder to the pot and whisk to combine.

The sugar-cocoa mixture should look like this (I had to add more sugar to get to this stage)

Add just enough milk to moisten the sugar. I started with about a 1/4 c. and ended up using about a 1/3 c. (just eye-balling it)

Turn the heat to med-low and switch to a wooden spoon... As Jessie said - "Just keep stirring..."

Just starting to bubble a bit...

Getting nice and bubbly...

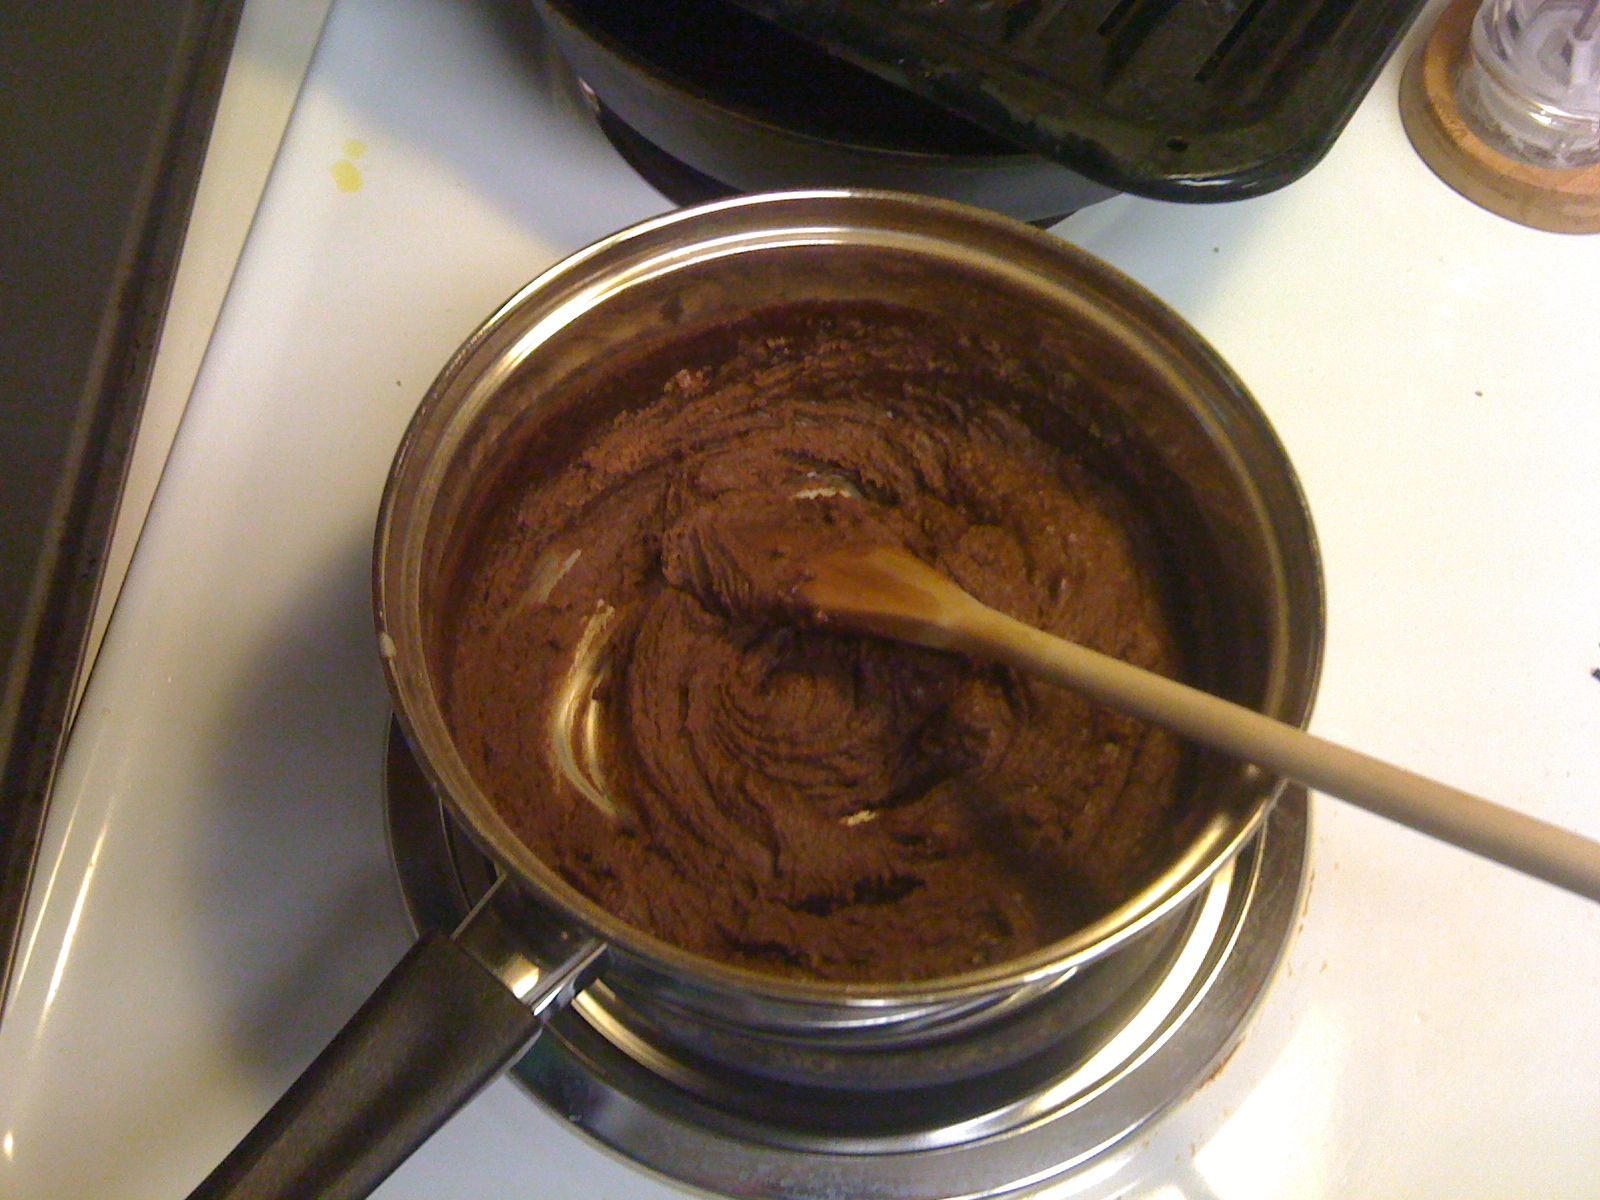
Really cooking now!
 It was at this stage that I tested the "done-ness" of the candy. I don't have a candy thermometer, so I tested it with cold water. (I didn't get a picture of this because it moves pretty fast). Pour some really cold water in a glass dish (mom used a small drinking glass, I use glass prep bowls). Drizzle some of the candy into the cold water. Stick your fingers in and manipulate the candy ball. It should form a nice ball, but still be pliable (soft-ball stage). If you cook it past this point, the fudge will be too tough to eat... Mine was in the perfect soft-ball stage, so I removed the pot from the heat. This is when you add the vanilla (it maximizes the vanilla flavor).

I also added a couple of heaping tablespoons of peanut butter to the pot and beat it with the wooden spoon to thoroughly incorporate the peanut butter (you can use smooth or chunky, your choice)... WARNING: It sets up REALLY fast so you better be prepared to dump it onto the greased plate as soon as it comes together... otherwise it will start cooling in the pot and it will take forever to get it out again...

Aaron took a picture while I was stirring... I know, not a very good one...

After it's been mixed... It should be the consistency of thick frosting...

Glob it onto a (greased) plate and press flat... Cut into squares while still warm to prevent breaking...
Let it cool and eat your fill!

My mom used to make this anytime one of us kids got sick. We'd take the (nasty) medicine she'd give us and then follow it up with a piece of peanut butter fudge... It made getting sick not so bad!

My grandmother is no longer alive, but anytime I visit my Auntie, she makes me peanut butter fudge. I'm usually not a great candy maker and the last few efforts of making peanut butter fudge were disastrous! My sugar constantly crystallized... it made for very gritty peanut butter fudge. But, it must be sufficiently humid out today because I had no problems with this batch... Yummy!

Friday, August 10, 2012

Grandma Charlotte's Fudge

Chocolate. Is there any word in the English Language (apart from beer, which incidentally goes fantastic with Chocolate) that cultivates such heartfelt love? I'm happily married to a wonderful guy I love, but I gotta tell you chocolate stirs a passionate feeling so deep it might just trump my nuptials. 

That being said, yesterday I was craving chocolate and was sorely lacking in supply. Of course my first contact was to Jen to help me out. She pulled through. Sort of... See her solution was to whip up some Grandma Charlotte (her's, not mine) Fudge. Now I'm not exactly a fudge making pro. Just to make it a big more interesting, she sends me the directions via a series of Text Messages! 

Here's what I got: 


Helpful right? 

So here's the translated ingredient list: 

1 1/4 cup sugar
2 3/4 tbsp cocoa
1 tsp vanilla extract (this was my addition because I LOVE it)
1/4 plus 1 tbsp milk 
1 cup peanut butter

The Cast
These ingredients probably need tweeked a little. The taste is amazing but it's a little crumbly to work with and Jeff likes gooey fudge. 
Here goes nothin'!

My favorite cook wear is All Clad. I love it. Can't explain it, just do. 

Sift the sugar and cocoa together into about a 6 inch pot. You can use smaller if you like but the more room it has to spread out (without being too thin) the better it will kind of carmelize. Add milk and stir well.  


Cold, Wet, and Sweet - There's got to be a joke there.
Add vanilla. 
I call this "Honeymoon Vanilla".
We bought it at a market somewhere in Mexico.
 Turn the heat on to a medium low. Let the mixture kind of warm up and start to get glossy. Keep on stirring. Think Nemo... 


Concoction Starting to Glaze
At this point, risk of burning is pretty low. So while it heats I recommend finding a dish and lining it with plastic wrap. I know, I know. Deviation from Grandma. But I hate dishes.  Grandma would still be proud. 

Wrap it Up.... 
 Here is about half way done. You can see some of the grainy-ness of the sugar on the spatula. Keep on stirring... 


At about 3/4 of the way through you'll be able to swipe the pan and the mix will hold consistency for a few seconds. 


Swoosh!
 Tilt the pot. If it still looks grainy and lump, keep on stirring. I played with my heat a bit here. Up a little to get the sugar to melt more. Not too high though, it's easy to burn. Burning sugar tastes like dirt... Well, sort of. First it tastes like caramel, then like dirt really quickly. Someone should talk to sugar... 

Grainy like a 90's camera phone.  
When it really starts to come together (this is about 8 minutes in) you'll get a little separation of cocoa and milk fat from the carmely sugary sauce. Keep stirring. I stopped for a second to show this but ideally you keep it all combined. 


I see swirls. 
 You're shooting for around 200 - 225* F. Keeping it there on a medium heat melts the sugar crystals without burning anything. I found this awesome candy thermometer at an estate sale for $1. If you don't have one, no worries. 


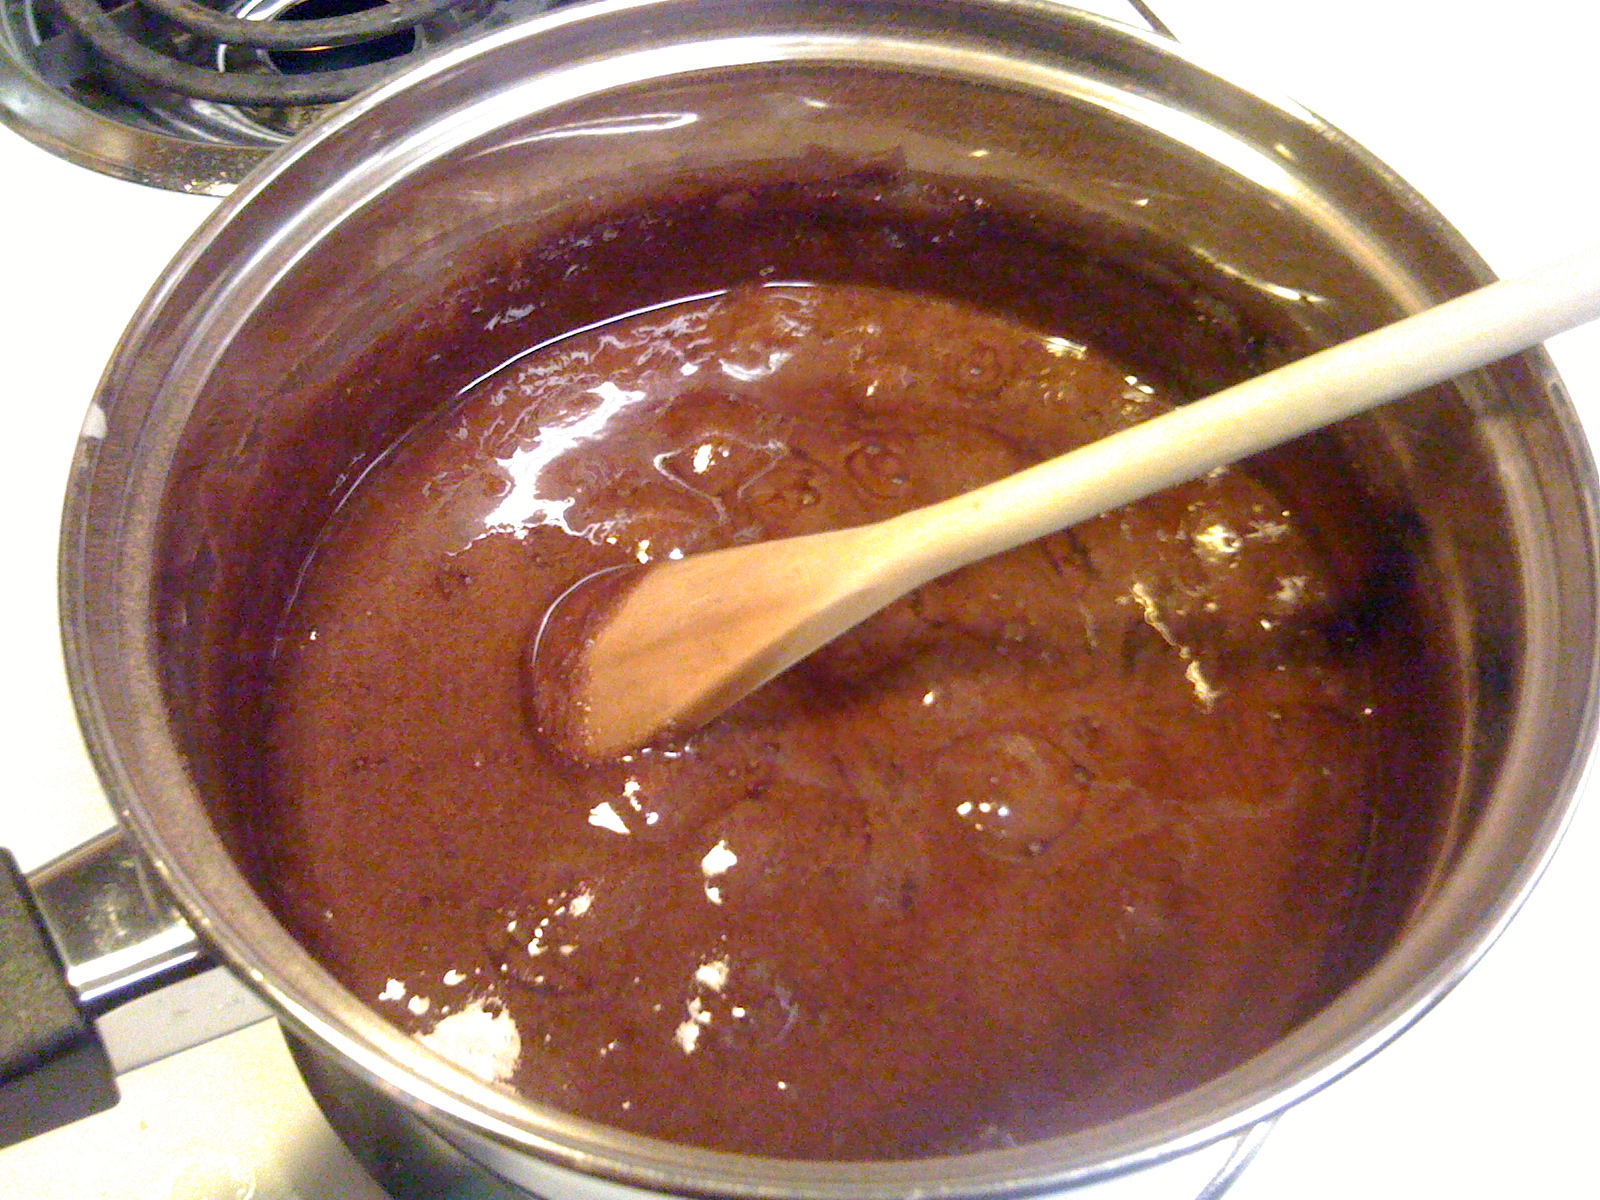
Between 200 and 225 it gets this nice black glossy look. You can read your fortune, or maybe just keep stirring and make fudge. Your call. 

Shiny! Squirrel! 
I turned off the heat and removed the pot from the burner just to cool a touch. It was really just because I needed 2 hands to prep my KitchenAid Mixer and Mom didn't have quite enough radiation to produce that third arm. 

Glass bowl, whisk attachment. 
I would show here putting in the peanut butter but again, no third arm. So here are a series of shots of the mixer combining everything. Put in the peanut butter first, start the mixer, than pour in the sugar/cocoa mix. 

PB in the center, whipping out. 


Whip it, whip it good now. 

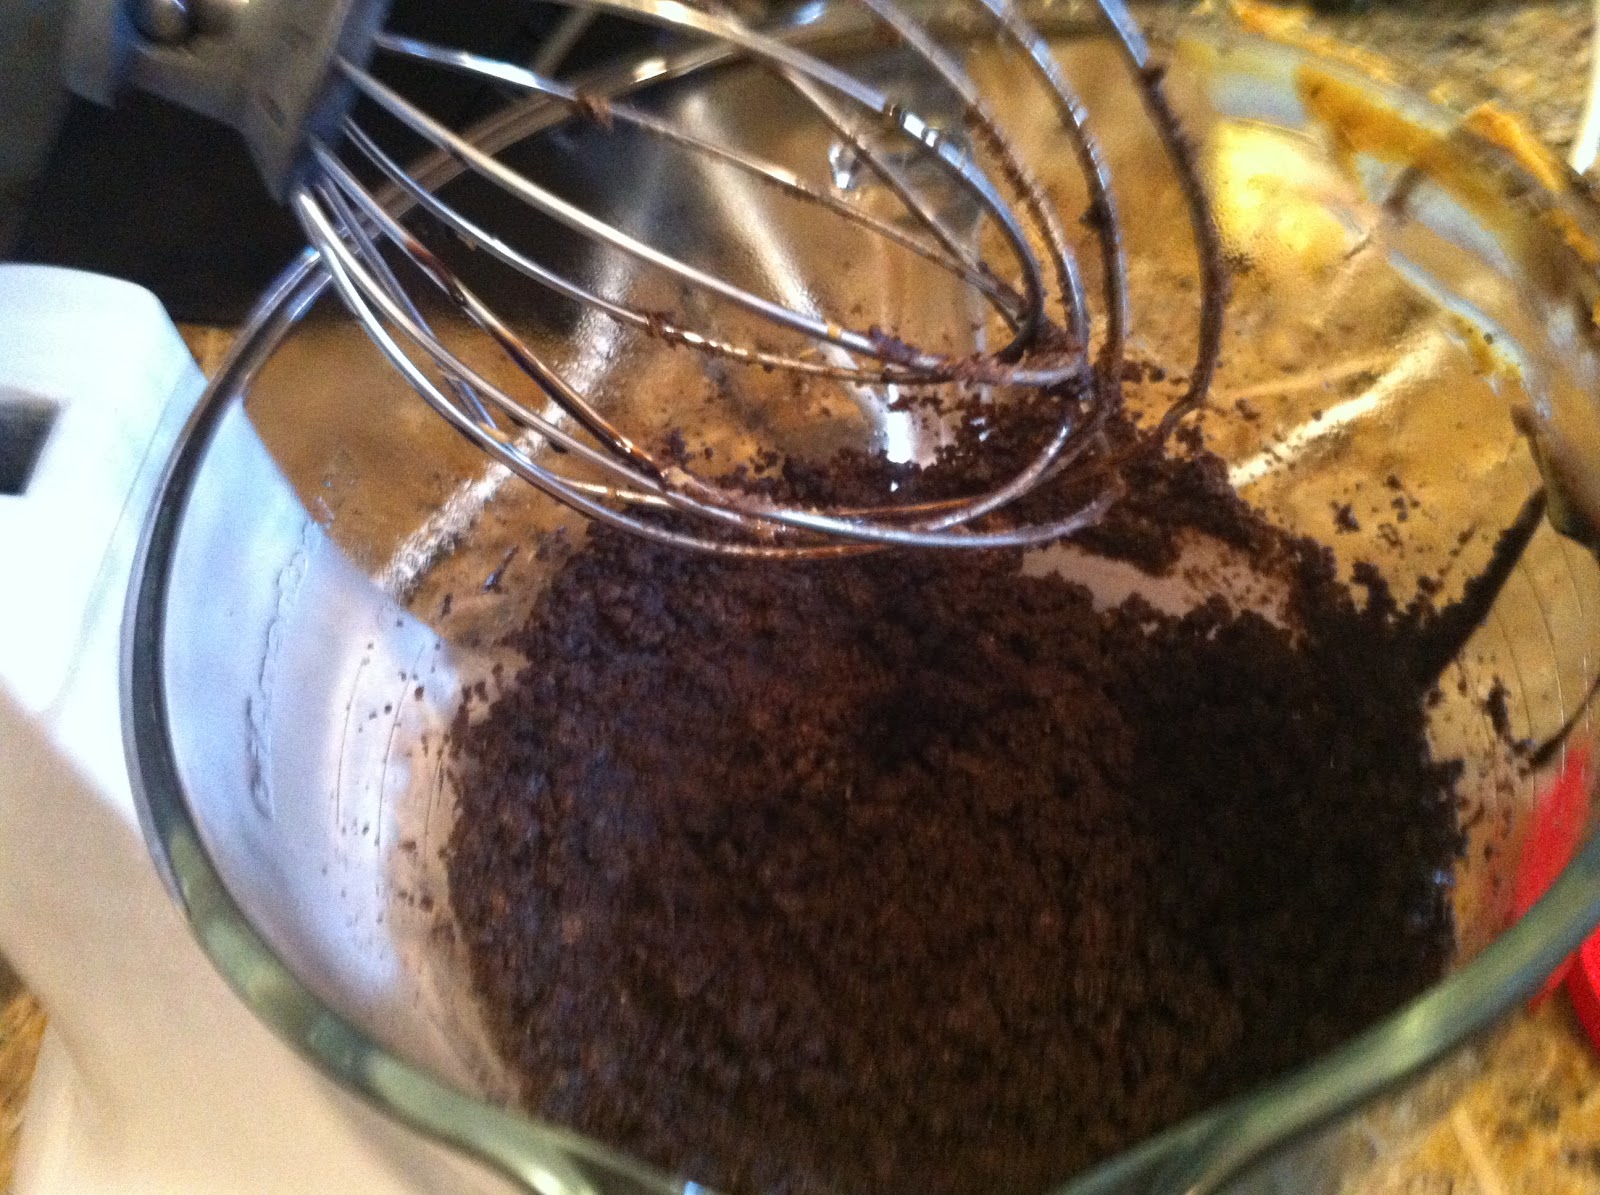
It fully incorporates and looks like Oreo Crumbs. At least mine did.

Me Want Cookie!

 Dump contents of mixer bowl into the lined dish. 


Fold over plastic wrap. 


I used a smaller bread pan to smash everything down tight and into the lined pan. You could use fingers if you want. This was quick and easy. 


Flipped the now-fudge out onto the marble counters, keep the plastic wrap on. 

Practice Safe Rolling. Prevent dirty counters. 
 Using a rolling pin, I smashed it out a little thinner. 


Purely Illustration. 


About as thick as a pen. 
 Get ready for my favorite part! I brewed up a cup of Brooklyn coffee and enjoy! 


Three of my favorite things! 

So here's to you Grandma Charlotte. And a big thank you to Jen for making my morning a little better! 


Monday, July 23, 2012

She's Crashing! I need a pan of Brownies! STAT!

After the day I had today, anyone would understand why I NEEDED chocolate... You know, that base NEED that if you don't get it in the forseeable future, you will drop down dead... OK, maybe I'm being a little over-dramatic, but I don't care... I had a REALLY CRAPPY Monday and I NEEDED chocolate... (not to be confused with the days where I NEED a margarita... those are reserved for a different kind of day and a different post altogether).

I love my Mother-In-Law... She has become my personal shopper when it comes to my challenge of going Gluten-Free. She constantly sends care packages, and each time, there is something new for me to try. Well, this particular item has been sitting on my shelf in my pantry, mostly because I haven't had time to bake for a while... Didn't really have time for it today, but, you know, I needed the chocolate...

Vegetable Oil, Egg Replacer, Brownie Mix, Vanilla, and Water!

I almost cried because I didn't have my usual egg replacement options for the brownie mix (the only applesauce in the house has cinnamon in it... I wasn't feeling adventurous)... and then I remembered that she sent me a box of egg replacer when she sent the brownie mix. Somehow, the jar (it HAD to be repackaged - long story) got shuffled to the back of my cabinet and I forgot all about it... But, I found it and I had no excuse NOT to make brownies now!

I pretty much followed the directions on the box - except for replacing the melted butter with some vegetable oil and replacing the egg with the egg replacer mix. Oh, and I omitted the nuts, primarily because I don't have any (I AM a girl, ya know!).

What the ...?
I learned very quickly that my usual method of mixing brownies would NOT work with this mix... To be fair, it did call for the use of a hand mixer, but I, in my hubris, deemed it unnecessary... They knew what they were talking about... I have a VERY sturdy whisk and this THICK batter almost bent the wires back (I stopped before it could and I brought out the more appropriate tool for the job).


Much better...
Also courtesy of my MIL is my awesome brownie pan (that I forgot to grease ahead of time - again, not completely following the directions on the box). I had to use a paring knife to unstick the sides a little bit before I could unpan the brownies (but not too bad - the oil in the mix helped)... I got impatient (apparently I undercooked the brownies, but I don't care - I love them extra-fudgy) and served me up three... YES, three brownies... After a day like I had today, that is the requisite starting number... What was that? Brownies for dinner? Yes please!


I'll probably be so sick tomorrow........


PS - after 3 more brownies, my guilt got the better of me and I had to have "actual" dinner - I can't in good faith allow myself brownies for dinner and still call myself an adult... but I did, at least, have dessert first!

Baby Spinach, Orange Bell Peppers, Cucumbers, Tomatoes, Green Onions, Parmesan, & a Balsamic Vinaigrette.
And if I haven't made myself clear by this point - the brownies DEFINITELY hit the spot!

Jen

Tuesday, January 17, 2012

Non-Egg-cellent

Little known fact: Jen is allergic to eggs. In her honor, here are two delicious clucking egg free recipes. Sometimes they aren't all that easy to find.

French Bread

Most everyone loves bread. There are so many variations to this simple recipe. I've tried coconut flour (yum! but requires more yeast), wheat flour (dense like a short bus but good), spelt flour (be like Mike and give it some extra air time). In my house the plain old unbleached AP flour goes over the best.

1 pack yeast
1 1/2 tsp salt (increase this if you feel like it, adds a bit more flavor)
1 tbsp sugar (or honey)
1 tbsp shortening
4 cups flour
butter (optional, but who the hell doesn't like butter!?)

Run the tap until it's plenty warm. Put 1/2 cup of water in a bowl and sprinkle the yeast on top. When it starts to smell funny and bubble some, it's probably good to proceed. This will take around 5 minutes. Add the sugar and stir. Let it rest another minute or two. Again, the bubbling is a good indication you're doing it right.

Add in everything else with another 1 cup of warm/hot water. Make sure it's not scalding or you will kill the little yeast guys. You need those guys alive to make fluffy bread.

Mix the dough (either by hand or with a mixer) until it's kind of smooth and no longer sticky. Let it rest for 15 minutes. Kneed it again for about a minute. Let it sit another 15 minutes. This seems like a pain but it's worth it. Take your "me time" here. Just make sure you wash your hands when you come back to the kitchen!

Split into balls or loaves or however you like your bread to look. Round it out (basically just smooth the top). When it feels like a 18 year old boob (the real kind, not fake) it's about right. Let it sit for another 20 minutes or so in a warm spot with a damp cloth on top.

Bake for 20-40 minutes (depending on size) at 400 degrees. It'll be nice a fluffy if you did it right. If not, make bread pudding!

Chocolate Snack Cake

Admissions being what they are, this came from my Mom this week. She took it from her sister in law. Either way you steal it, it's still good right?

1 & 2/3 cup flour
1 cup brown sugar
1/4 cup cocoa
1 tsp baking soda
1/2 tsp salt
1 cup water (or leftover coffee if you like mocha)
1/2 cup oil (any kind works here, we like coconut or sunflower)
1/2 tsp vinegar
Courtesy of Mom!

Mix all together. Pour into an un-greased 8x8 glass pan. Bake at 350 for 30 minutes.

When it's cool take it out and dust with powdered sugar or smear with your favorite icing!

So there ya go, it's a day for Jen!

Happy eating,

Jessie