Showing posts with label Egg-Free. Show all posts

Sunday, August 12, 2012

Grandma's Peanut Butter Fudge (Fo' Real, yo!)

So, today I had a major craving for peanut butter fudge... It could be because I'm homesick, or overworked, or missing my grandma... Or it could just be that I've had a craving for it ever since I sent Jessie the text with the "directions" in it... Either way, I needed a break from my school work today and decided to whip some up...

BTW, Jessie, for someone who doesn't like to do excess dishes, you sure made it complicated! Made properly, it is a one pot-one plate experience, with a few additional tools necessary for making the candy.

Directions will be given by picture, so pay attention :) No measurements were taken. This very much depends on proportions and current weather (humidity), etc...

Add sugar and cocoa powder to the pot and whisk to combine.

The sugar-cocoa mixture should look like this (I had to add more sugar to get to this stage)

Add just enough milk to moisten the sugar. I started with about a 1/4 c. and ended up using about a 1/3 c. (just eye-balling it)

Turn the heat to med-low and switch to a wooden spoon... As Jessie said - "Just keep stirring..."

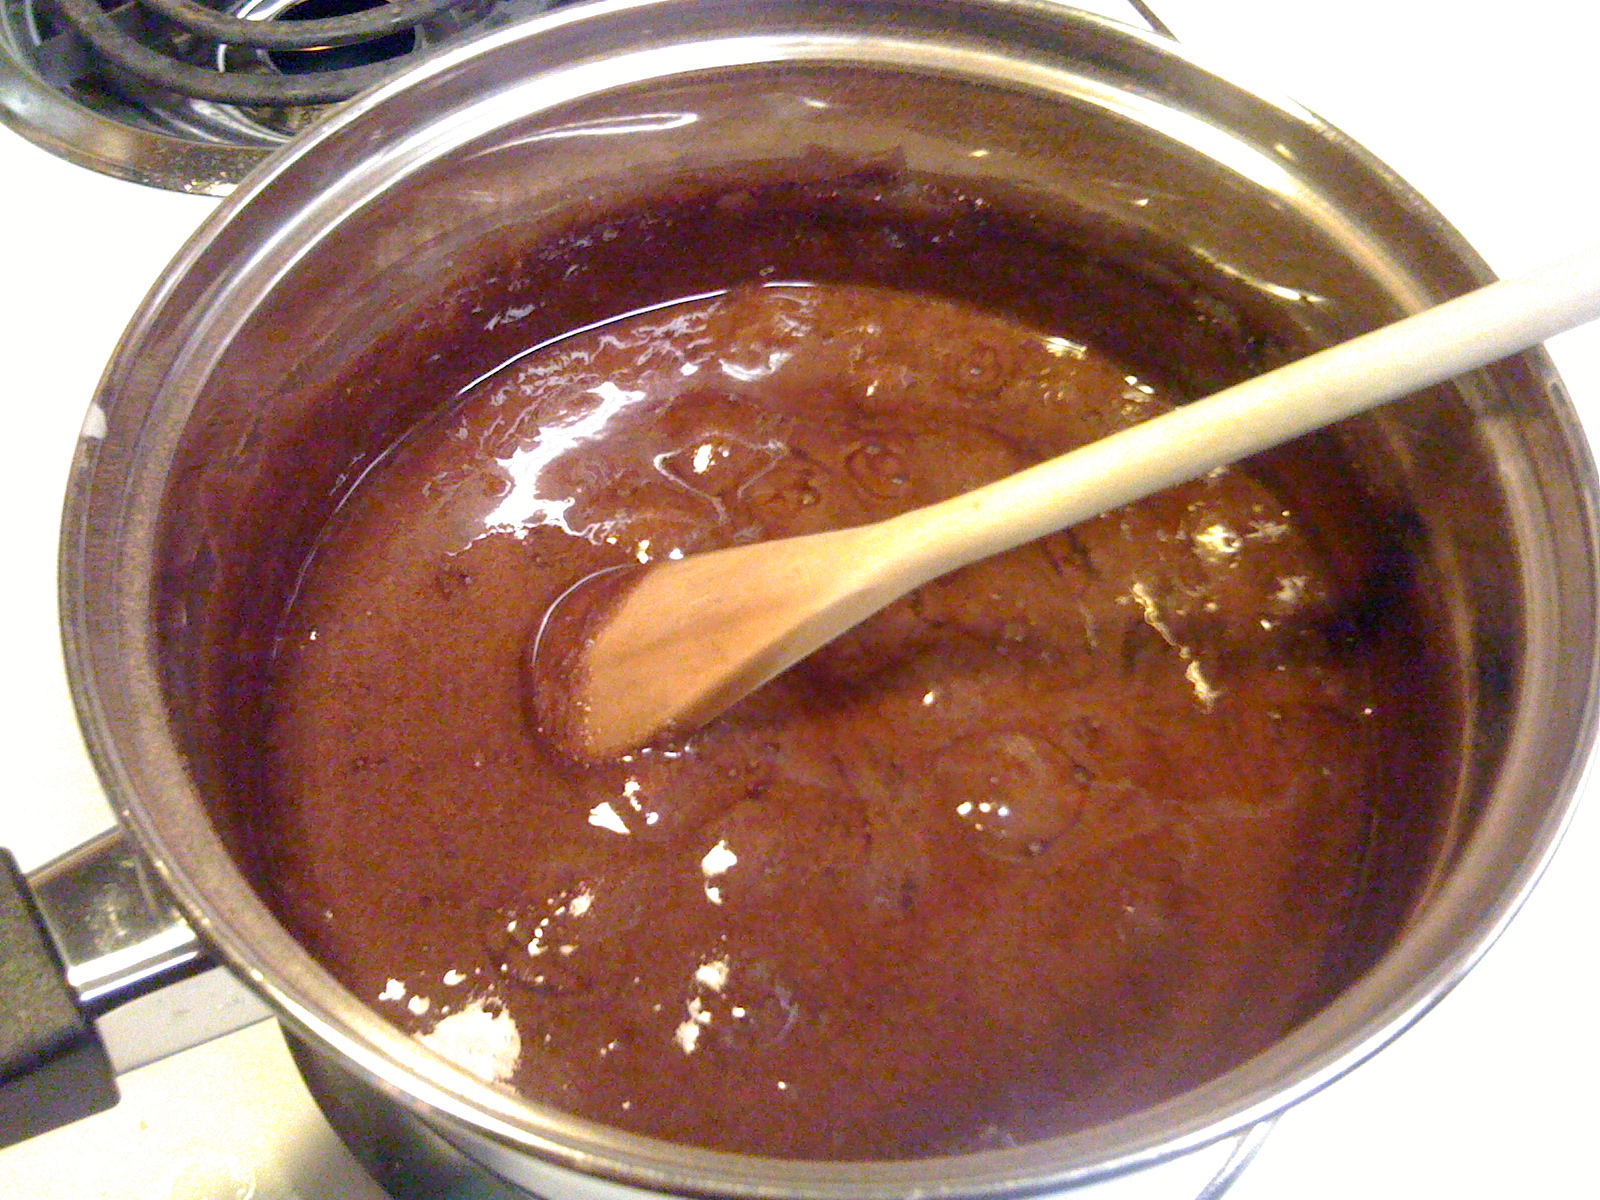
Just starting to bubble a bit...

Getting nice and bubbly...

Really cooking now!
 It was at this stage that I tested the "done-ness" of the candy. I don't have a candy thermometer, so I tested it with cold water. (I didn't get a picture of this because it moves pretty fast). Pour some really cold water in a glass dish (mom used a small drinking glass, I use glass prep bowls). Drizzle some of the candy into the cold water. Stick your fingers in and manipulate the candy ball. It should form a nice ball, but still be pliable (soft-ball stage). If you cook it past this point, the fudge will be too tough to eat... Mine was in the perfect soft-ball stage, so I removed the pot from the heat. This is when you add the vanilla (it maximizes the vanilla flavor).

I also added a couple of heaping tablespoons of peanut butter to the pot and beat it with the wooden spoon to thoroughly incorporate the peanut butter (you can use smooth or chunky, your choice)... WARNING: It sets up REALLY fast so you better be prepared to dump it onto the greased plate as soon as it comes together... otherwise it will start cooling in the pot and it will take forever to get it out again...

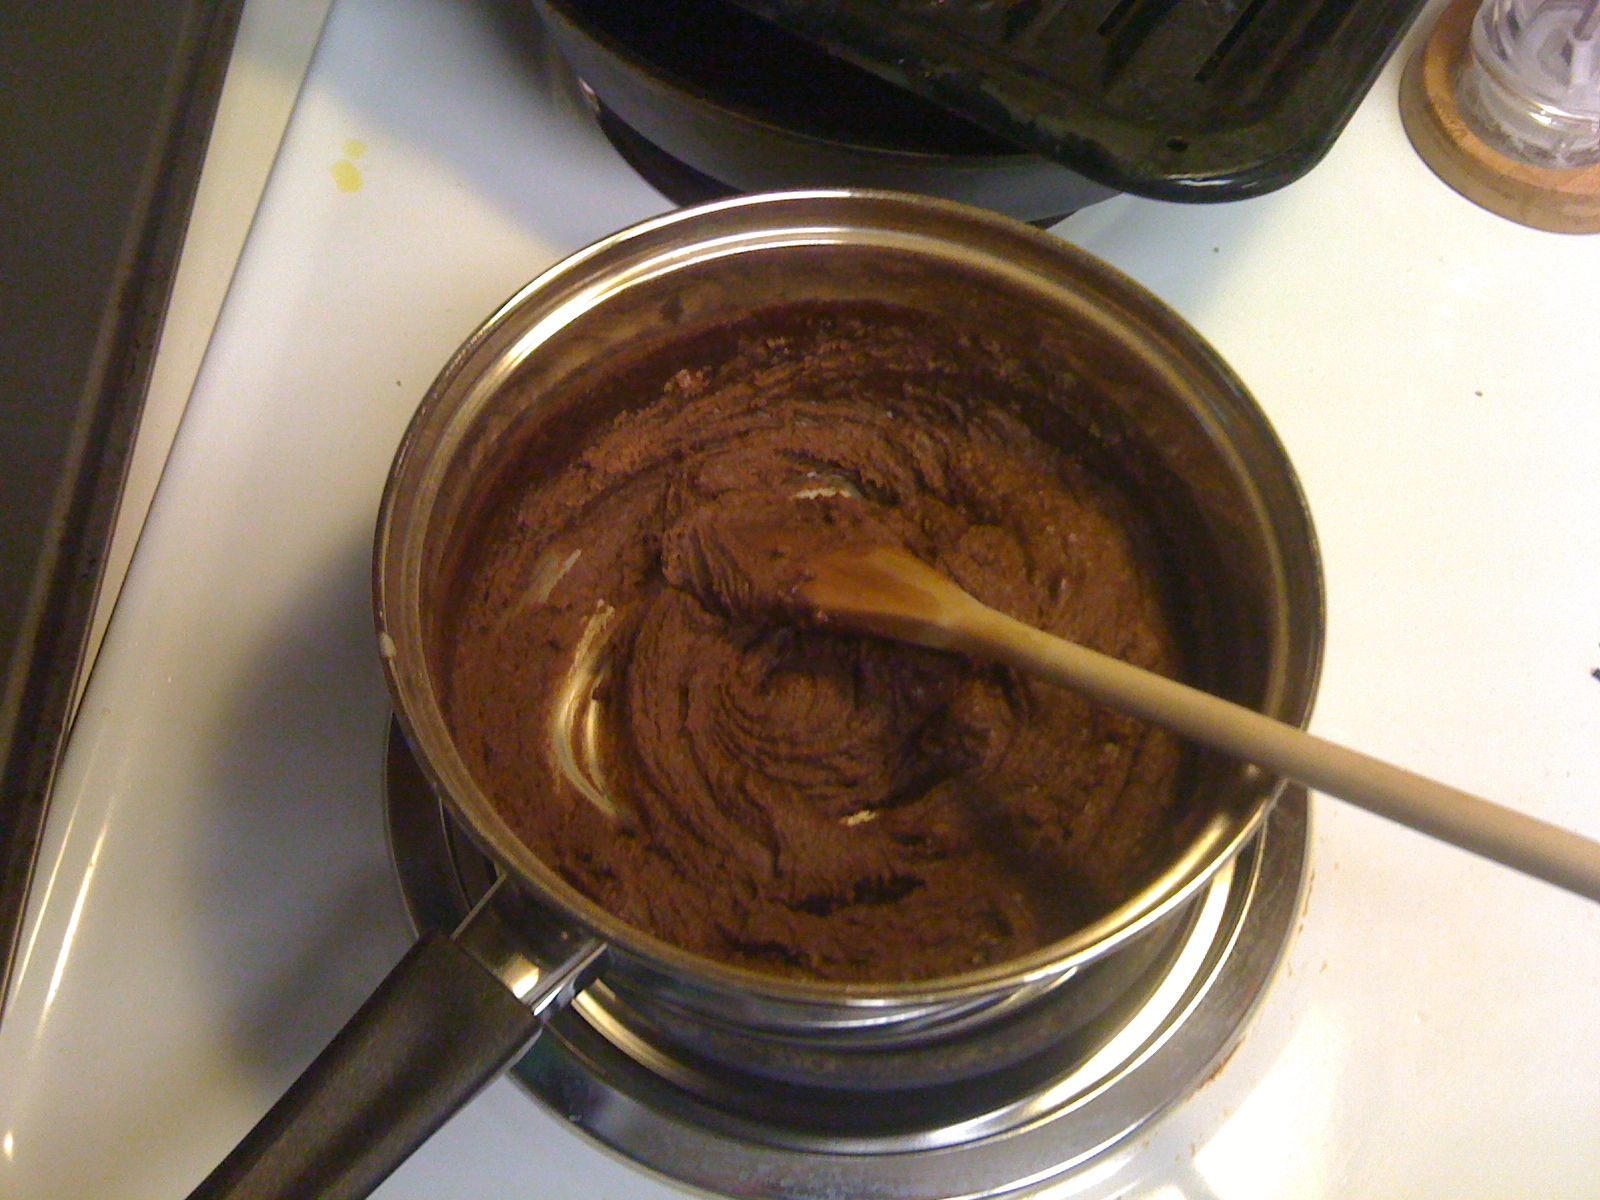
Aaron took a picture while I was stirring... I know, not a very good one...

After it's been mixed... It should be the consistency of thick frosting...

Glob it onto a (greased) plate and press flat... Cut into squares while still warm to prevent breaking...
Let it cool and eat your fill!

My mom used to make this anytime one of us kids got sick. We'd take the (nasty) medicine she'd give us and then follow it up with a piece of peanut butter fudge... It made getting sick not so bad!

My grandmother is no longer alive, but anytime I visit my Auntie, she makes me peanut butter fudge. I'm usually not a great candy maker and the last few efforts of making peanut butter fudge were disastrous! My sugar constantly crystallized... it made for very gritty peanut butter fudge. But, it must be sufficiently humid out today because I had no problems with this batch... Yummy!

Monday, July 23, 2012

She's Crashing! I need a pan of Brownies! STAT!

After the day I had today, anyone would understand why I NEEDED chocolate... You know, that base NEED that if you don't get it in the forseeable future, you will drop down dead... OK, maybe I'm being a little over-dramatic, but I don't care... I had a REALLY CRAPPY Monday and I NEEDED chocolate... (not to be confused with the days where I NEED a margarita... those are reserved for a different kind of day and a different post altogether).

I love my Mother-In-Law... She has become my personal shopper when it comes to my challenge of going Gluten-Free. She constantly sends care packages, and each time, there is something new for me to try. Well, this particular item has been sitting on my shelf in my pantry, mostly because I haven't had time to bake for a while... Didn't really have time for it today, but, you know, I needed the chocolate...

Vegetable Oil, Egg Replacer, Brownie Mix, Vanilla, and Water!

I almost cried because I didn't have my usual egg replacement options for the brownie mix (the only applesauce in the house has cinnamon in it... I wasn't feeling adventurous)... and then I remembered that she sent me a box of egg replacer when she sent the brownie mix. Somehow, the jar (it HAD to be repackaged - long story) got shuffled to the back of my cabinet and I forgot all about it... But, I found it and I had no excuse NOT to make brownies now!

I pretty much followed the directions on the box - except for replacing the melted butter with some vegetable oil and replacing the egg with the egg replacer mix. Oh, and I omitted the nuts, primarily because I don't have any (I AM a girl, ya know!).

What the ...?
I learned very quickly that my usual method of mixing brownies would NOT work with this mix... To be fair, it did call for the use of a hand mixer, but I, in my hubris, deemed it unnecessary... They knew what they were talking about... I have a VERY sturdy whisk and this THICK batter almost bent the wires back (I stopped before it could and I brought out the more appropriate tool for the job).


Much better...
Also courtesy of my MIL is my awesome brownie pan (that I forgot to grease ahead of time - again, not completely following the directions on the box). I had to use a paring knife to unstick the sides a little bit before I could unpan the brownies (but not too bad - the oil in the mix helped)... I got impatient (apparently I undercooked the brownies, but I don't care - I love them extra-fudgy) and served me up three... YES, three brownies... After a day like I had today, that is the requisite starting number... What was that? Brownies for dinner? Yes please!


I'll probably be so sick tomorrow........


PS - after 3 more brownies, my guilt got the better of me and I had to have "actual" dinner - I can't in good faith allow myself brownies for dinner and still call myself an adult... but I did, at least, have dessert first!

Baby Spinach, Orange Bell Peppers, Cucumbers, Tomatoes, Green Onions, Parmesan, & a Balsamic Vinaigrette.
And if I haven't made myself clear by this point - the brownies DEFINITELY hit the spot!

Jen

Thursday, June 14, 2012

For Cod's Sake!

Tonights dinner was unexpected but a result of a few sales at my local Kroger and a free Rachel Ray Cooks magazine. Possibly that Metamucil I had this morning too causing a prolonged visit to my office (aka, the spare bath). 

Anyway... Eggplant was on sale for $0.88 each. Great deal! Beautiful locally grown eggplant with a nice bouncy firm skin. Mmmm, bouncy and firm, generally reserved for boobs but on eggplant, delightful. Besides, I'm almost 30, nothing on me is firm anymore! 

Some fresh wild caught cod filets were in the seafood counter. Seeing as cod is a sustainable fish and so creamy and fatty and delicious, who could say no!? Besides, I have had a fish craving for awhile. Mississippi produces catfish... a lot of FARMED catfish. I'm not saying it's terrible, I'm saying I'm generally not a huge fan. I prefer my fatty saltwater fishes. 

On to my next ingredient, basil. It's gardening season and my lovely backyard garden is going nuts. My basil is like 4 ft high and bushy. Mmmm, bushy basil. While we're out there, the spring onions are going nuts too and so delicious this year. Flavorful but not that kind of onion that leaves a nasty taste on the back of your tongue, the good kind that's like fresh and pops.

The one thing I had to go searching for was cherry tomato. Blah, mine aren't ripe yet! Soon enough, for now we got some locally grown from the supermarket. 

Putting it together... 

Set the oven on a normal broil. Let it get HOT. 

Saute some chopped garlic and choppped basil in grape seed oil just until it turns light blonde. Half the tomatoes and throw them in (DO NOT STIR). I used about a cup and a half of tomatoes. Sprinkle salt and pepper on top. Let them sit until they look happy and shake the pan a bit. They'll do their own thing. When they saute a little, turn it all off and set aside. 

Slice the egg plant into like 1/2 inch slices and lay them on a baking sheet with some grape seed oil on. Sprinkle with salt and pepper. Put under the broiler for like 5 minutes. Don't let them burn. 

Take the eggplant out and flip it over. Pile the tomato mixture evenly divided onto the eggplant. Nom... try to contain eating all the tomatoes right here. 

Lay pieces of cod over the tomatoes. Sprinkle with salt and pepper. See a theme? Just a touch at each step gives it a great flavor! I sliced paper thin slices of lemon and laid them on top of the fish here. It made it good. Nice touch of sour fresh. 

Pop back under the broiler until the fish turns kind of white and starts to seperate. That's when it's delicious. Again, do not overcook.

This tastes great served with couscous. It cooks in like 5 minutes. Boil water, add some lemon juice, chop the spring onion and basil. Let the couscous sit in the hot water until it absorbs. Stir in the onion and basil and add a dash of salt. Fluff a little (hehehe) and you're ready to go! [That's what she said]

Here's a picture! 


Happy eating!

Tuesday, January 17, 2012

Non-Egg-cellent

Little known fact: Jen is allergic to eggs. In her honor, here are two delicious clucking egg free recipes. Sometimes they aren't all that easy to find.

French Bread

Most everyone loves bread. There are so many variations to this simple recipe. I've tried coconut flour (yum! but requires more yeast), wheat flour (dense like a short bus but good), spelt flour (be like Mike and give it some extra air time). In my house the plain old unbleached AP flour goes over the best.

1 pack yeast
1 1/2 tsp salt (increase this if you feel like it, adds a bit more flavor)
1 tbsp sugar (or honey)
1 tbsp shortening
4 cups flour
butter (optional, but who the hell doesn't like butter!?)

Run the tap until it's plenty warm. Put 1/2 cup of water in a bowl and sprinkle the yeast on top. When it starts to smell funny and bubble some, it's probably good to proceed. This will take around 5 minutes. Add the sugar and stir. Let it rest another minute or two. Again, the bubbling is a good indication you're doing it right.

Add in everything else with another 1 cup of warm/hot water. Make sure it's not scalding or you will kill the little yeast guys. You need those guys alive to make fluffy bread.

Mix the dough (either by hand or with a mixer) until it's kind of smooth and no longer sticky. Let it rest for 15 minutes. Kneed it again for about a minute. Let it sit another 15 minutes. This seems like a pain but it's worth it. Take your "me time" here. Just make sure you wash your hands when you come back to the kitchen!

Split into balls or loaves or however you like your bread to look. Round it out (basically just smooth the top). When it feels like a 18 year old boob (the real kind, not fake) it's about right. Let it sit for another 20 minutes or so in a warm spot with a damp cloth on top.

Bake for 20-40 minutes (depending on size) at 400 degrees. It'll be nice a fluffy if you did it right. If not, make bread pudding!

Chocolate Snack Cake

Admissions being what they are, this came from my Mom this week. She took it from her sister in law. Either way you steal it, it's still good right?

1 & 2/3 cup flour
1 cup brown sugar
1/4 cup cocoa
1 tsp baking soda
1/2 tsp salt
1 cup water (or leftover coffee if you like mocha)
1/2 cup oil (any kind works here, we like coconut or sunflower)
1/2 tsp vinegar
Courtesy of Mom!

Mix all together. Pour into an un-greased 8x8 glass pan. Bake at 350 for 30 minutes.

When it's cool take it out and dust with powdered sugar or smear with your favorite icing!

So there ya go, it's a day for Jen!

Happy eating,

Jessie